
How to create product videos in bulk with AI
To create product videos in bulk, organize one product per folder, import the images into Nexscope, check each product’s details, choose a style and batch settings, then review the credit estimate before generating. Start with a small representative batch so you can correct a shared creative problem before repeating it across your catalog.
Quick answer: Nexscope Bulk Video accepts product images, product folders and supported Amazon product links. The current workflow supports up to 100 tasks per project and 1–9 images per product. Product styles and analysis can apply to selected items; model and output settings apply across the batch. Review completed clips before downloading and publishing.
What should you prepare before opening Bulk Video?
Prepare approved images and a short factual brief for each exact product or variant. A batch is easier to inspect when every task has a recognizable SKU name and one clear visual objective.
Use the video workflow directory if you are still deciding how to start. For one photo-based experiment, the image-to-video guide explains how to test a motion brief before scaling it.
| Prepare | Example | Why it helps |
|---|---|---|
| Task identity | MUG-BLUE-01 |
Connect the output to the intended item |
| Product images | Front, side and handle detail | Show consistent features of one variant |
| Approved facts | Blue exterior, one mug, visible handle | Keep the video brief grounded in supplied information |
| Creative direction | Slow camera move on a kitchen counter | Give the clip a focused job |
| Destination | A vertical social concept or landscape listing clip | Choose the output format deliberately |
The mug example is an illustrative preparation exercise, not a report of a generation run. Replace its facts with your own product information. A photograph alone cannot establish capacity, dishwasher safety or other performance claims.
How do you import product folders correctly?
Put each product’s images inside its own immediate subfolder, then select the parent folder using the folder-import control. Keep different colors, sizes or bundles separate when their appearance matters.
product-video-pilot/
  MUG-BLUE-01/
    front.jpg
    side.jpg
    handle.jpg
  MUG-WHITE-01/
    front.jpg
    side.jpg
Open Bulk Video, sign in and choose folder import. After the upload finishes, check the task count, names and thumbnails. The current web implementation groups files by the first product subfolder beneath the selected parent. Avoid loose images at the parent level or deeper mixed-product folder trees; inspect the actual grouping before proceeding.
When adding multiple standalone images instead, check whether they have been grouped into one product task. Uploading several files does not necessarily mean each file becomes a different SKU. Add or organize tasks explicitly when needed.
The official Bulk Video page documents the current project and image limits. Files beyond an import limit may be skipped; compare imported tasks and thumbnails with your source folders rather than assuming everything was accepted.
Can you import an Amazon product instead of uploading photos?
Yes. Add an Amazon product URL to a task and review the product name and available images returned by the import. Check the exact variant, included accessories and image selection against the live listing before using the result.
Imported data can save preparation time, but it still needs review. Remove a lifestyle image if it shows a different bundle or an accessory that is not included. If a supported link cannot be resolved, correct the link or use approved images directly.
For a single listing with a script-led workflow, use the separate URL-to-video tutorial. It covers importing a page and developing the video’s message; Bulk Video focuses on organizing several product tasks together.
Which settings apply to one product and which apply to the batch?
Product information and style can differ by item; shared generation settings control the batch’s model and output format. Review selected items before applying a style or running AI product analysis.
| Scope | What to review |
|---|---|
| Individual product | Name, images, product facts and additional direction |
| Selected products or all products | Style/template application and AI product analysis |
| Batch | Available model, duration, resolution, aspect ratio, market and language |
AI analysis can suggest a product profile from the supplied material. Edit inaccurate selling points or audience assumptions before generating. Treat analysis as its own action and check any displayed credit information; do not assume it is included in the video estimate.
For the illustrative mug batch, use the same simple camera direction while preserving each item’s actual color and shape. A consistent style should not overwrite individual product identity.
How do you check credits and submit the batch?
Read the current quote after your products and settings are ready, then verify the confirmation summary. The estimate depends on the selected model, output settings and number of valid tasks.
- Resolve missing names or images and review incomplete-task warnings.
- Check the model, duration, resolution, aspect ratio, market and language.
- Confirm that the task count matches the products you intend to generate.
- Review the estimated credits and available account access.
- Submit once and follow the queue rather than creating a duplicate project.
If the estimate is unavailable, use the estimate retry control or correct the indicated problem before submitting. Do not substitute a remembered price from another model. The pricing page and the live workspace provide current account and credit information.
This tutorial follows immediate batch generation. Creating a batch does not schedule a social post or publish a video to an ecommerce listing.
How should you review and download completed videos?
Check every completed product against its source images, then download the results you intend to use. A successful task status means an output was created; it does not approve that output for your listing.
Look at the opening, middle and final frames. Check variant color, shape, logo, package text, accessories and any visible interaction. For a mug, a changing handle shape is enough to reject the clip even if the camera movement looks polished.
The official air-fryer source image and Bulk Video demonstration clip illustrate a source-to-output comparison. These are pre-existing Nexscope examples, not results from the mug exercise in this guide.
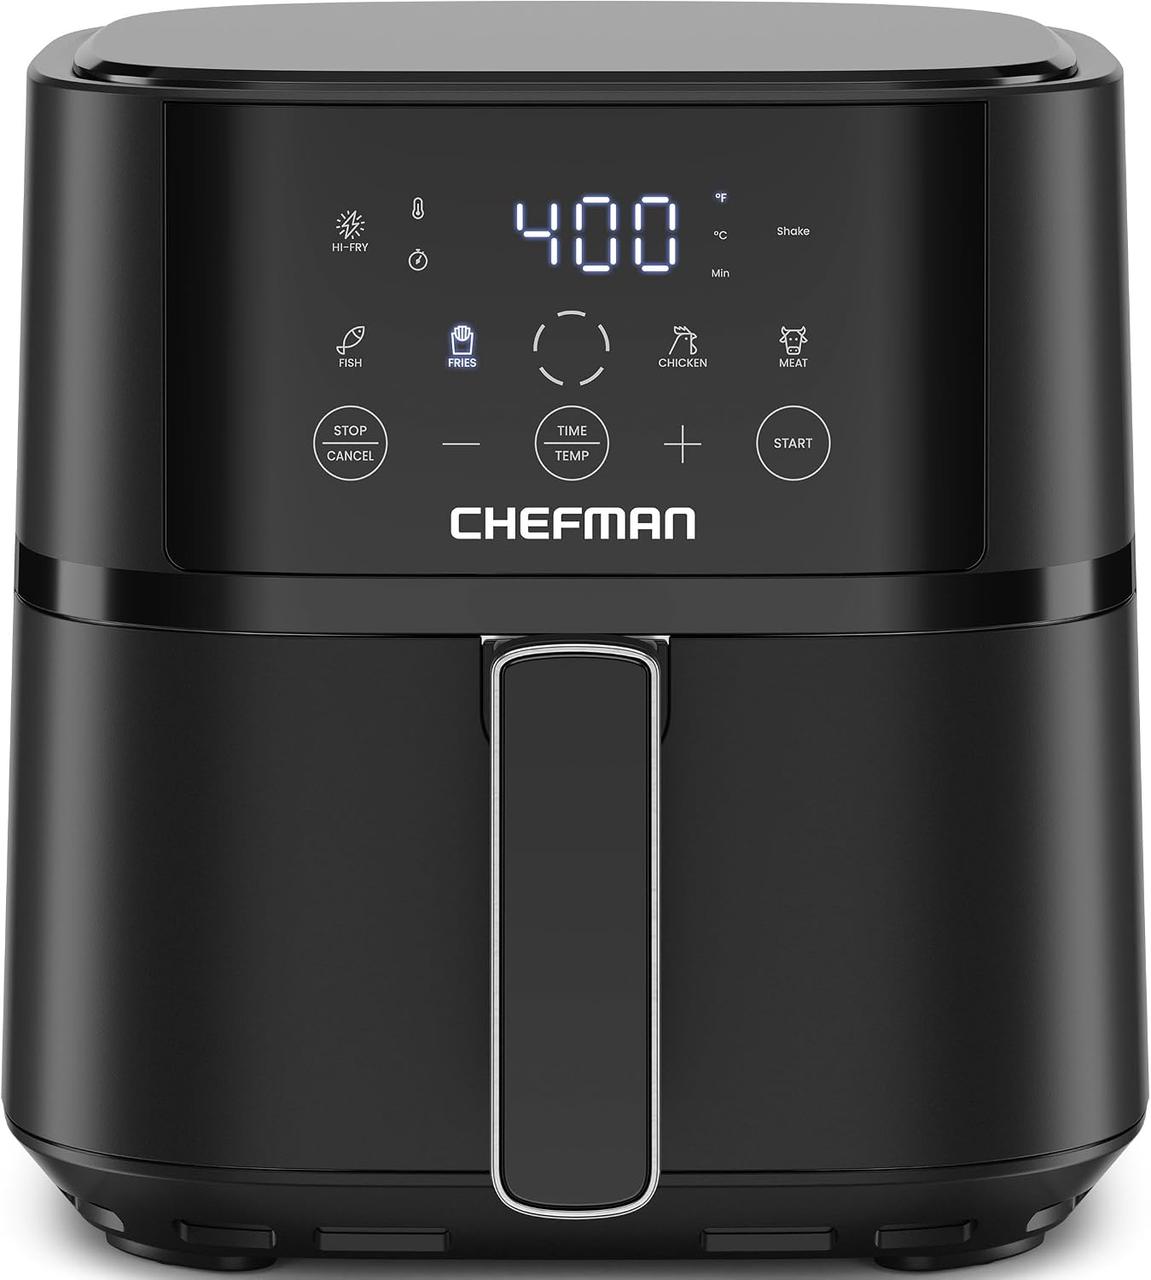
Use the project’s ZIP download option for completed outputs. Compare the download with the project’s item statuses so missing or failed tasks are not overlooked. If ZIP preparation fails, retry that download action; it does not require regenerating the videos. If a generation task fails, inspect its error and current retry options before repeating it.
Keep an approval sheet containing the product ID, project/task reference, source images, settings, output file and review decision. This makes it easier to replace a rejected clip without losing track of successful products.
Common questions about bulk product videos
How many videos fit in one project?
The current workflow supports up to 100 product video tasks and 1–9 images per product. Recheck the workspace before a large import, since available models and limits can change.
Can one style produce a different video for every SKU?
Yes. Each task uses its own product material while sharing the selected style or generation settings. Inspect each result: a shared template does not ensure identical quality across different product shapes.
Will videos be published to my store automatically?
This workflow creates and downloads videos. Approving a clip and uploading it to a store or social account remain separate steps.
For presenter-led creative, continue with the AI avatar product-video tutorial. For a reference-led concept, use the AI ad-cloning tutorial.
Last reviewed: 2026-11-02 · Maintained by the official Nexscope team · Editorial & evidence policy.